What to know
- Add a running head on docs.google.com by selecting Insert > Headers & footers > Header.
- If you prefer a keyboard shortcut, use
Ctrl + Alt + OorCtrl + Alt + H.
Official documents often have specific requirements when it comes to their formatting and style, be it the need for watermarks, citations, hyperlinks, mentions, and more. If you’ve recently been assigned an APA-style paper, you might have seen the requirement for a running head.
Many first-time users often get thrown off by this term and wonder what it means and how you can add one in Google Docs. If you’re in the same boat and want to know about running head, we have the perfect guide for you. Let’s get started.
What is a running head, and why do you need it?
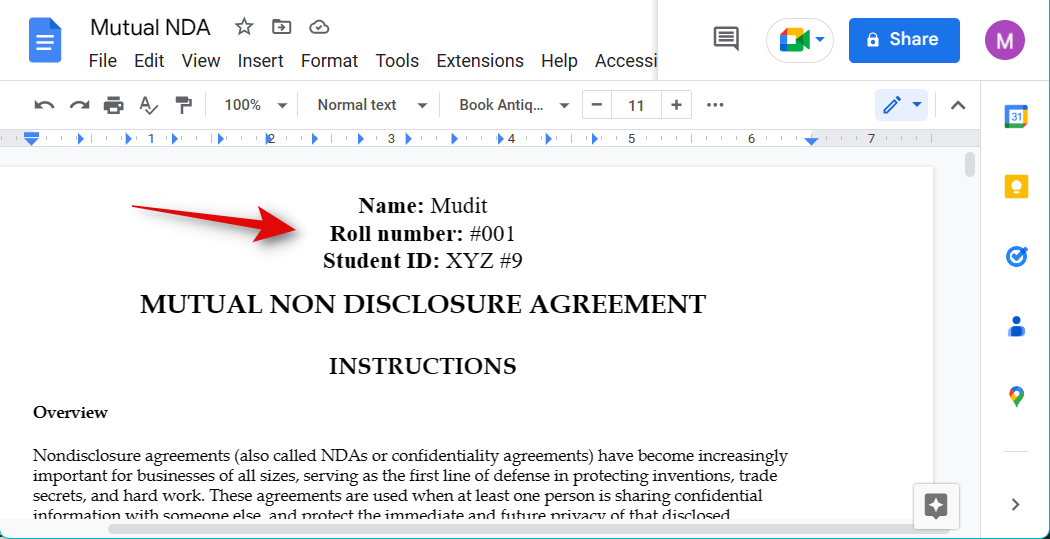
A running head, also known as a running header, is a recurring header in a document that helps identify your written material. Mostly used in APA style documents and student papers, its main motive is to help identify your documents if the pages come apart or are out of order.
So if you’re looking to insert a running head, you’re likely dealing with an important document. Use the section below to help you add a running head in Google Docs.
How to add a running head in Google Docs
Here’s how you can add a running head in Google Docs.
Firstly we need to add a header to your document. Head to the first page and then use either method below to add a header.
Use the steps below to add a running head from the menu bar at the top.
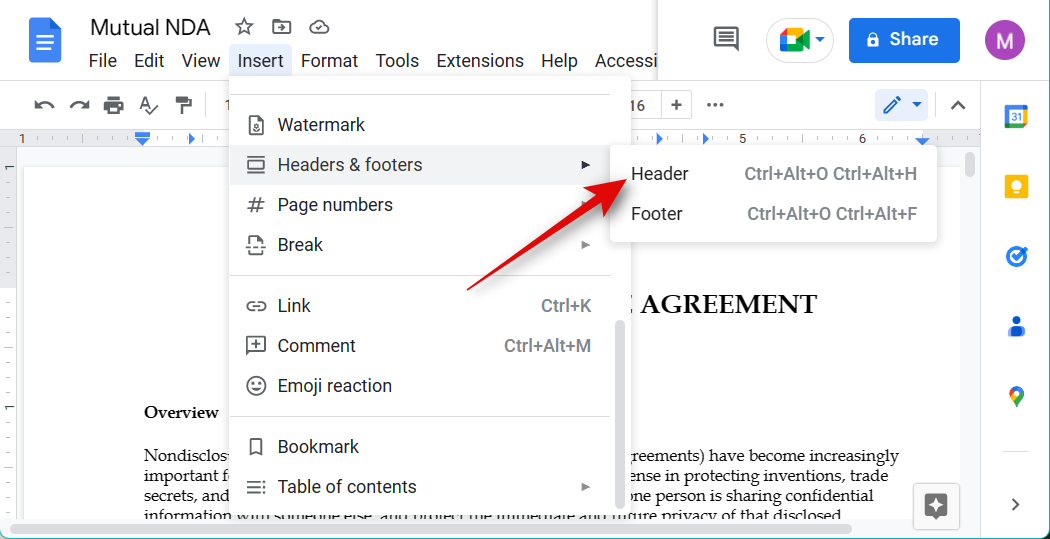
Open the concerned document in Google Docs, and click Insert at the top.
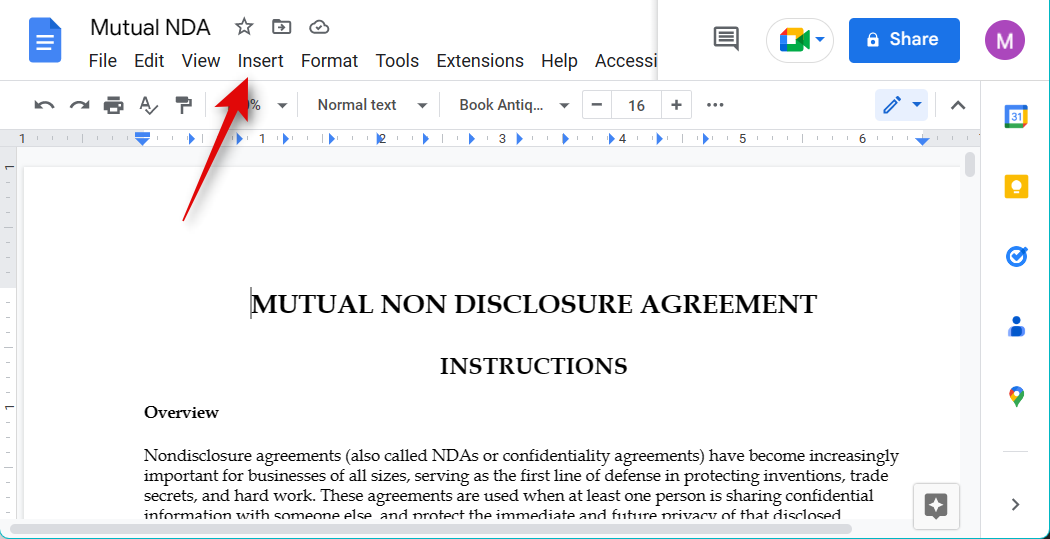
Hover over Headers & footers.

Select Header.
And that’s it! You will now have added a header to your document.
Related: How to Add Word Art in Google Docs
Method 2: Using a keyboard shortcut
You can also use a keyboard shortcut to add a header to your document instantly.
Start by placing the cursor on the first page. Now press Ctrl + Alt + O + Ctrl + Alt + H.

And that’s it! You will now have added a header to your document.
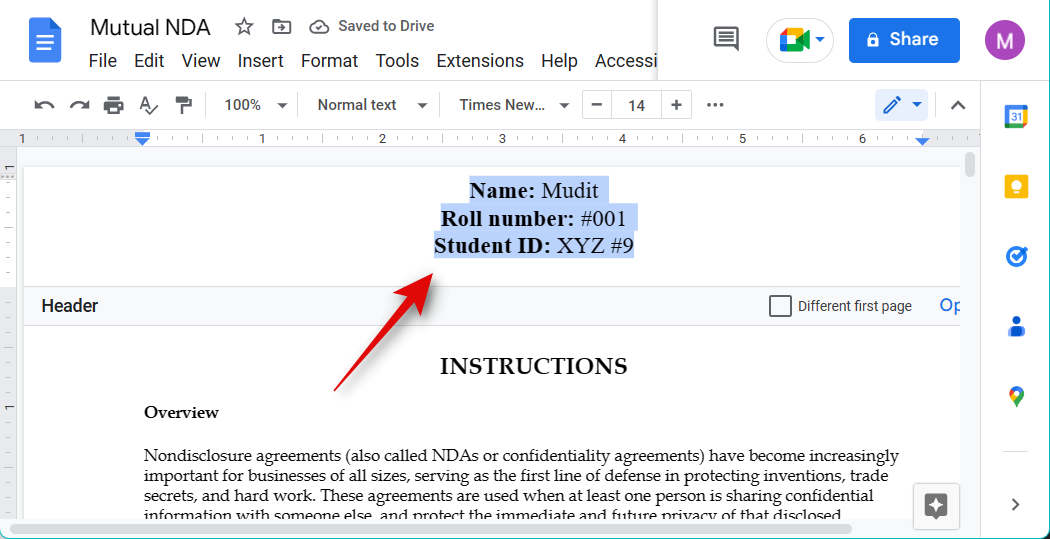
Step 2: Customize and format your header
We can now customize and format the header to your document requirements.
Start by writing the necessary text in the header.

Now customize your Font, Font Size, Alignment , and more as you would format any other text.
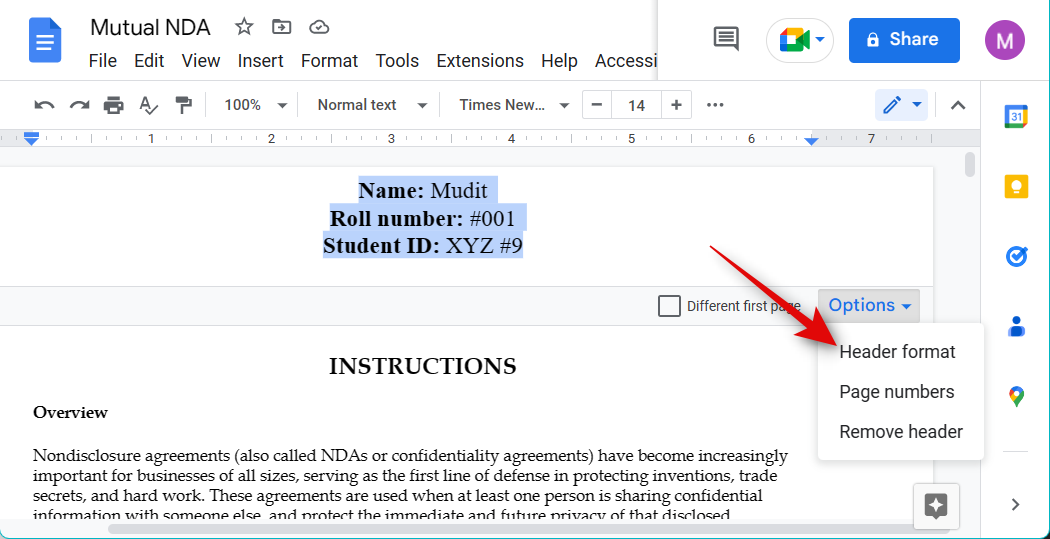
Click Options.
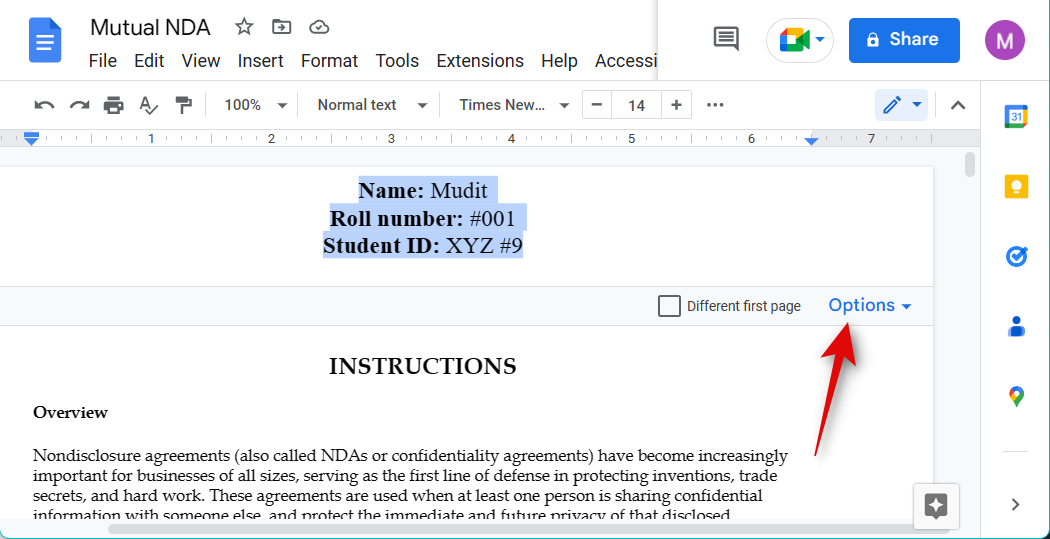
Select Header format.
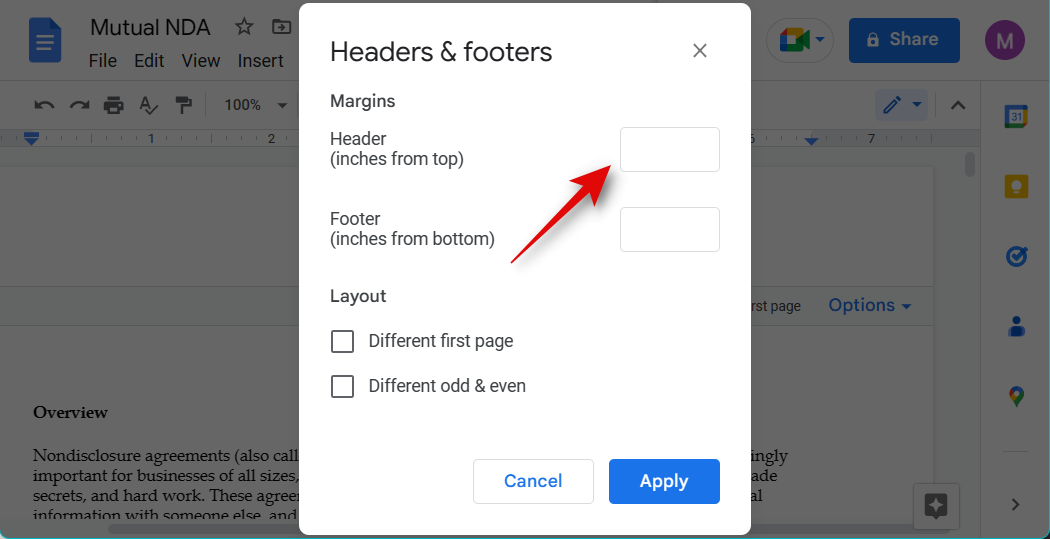
Now enter your preferred header margin based on your requirements.
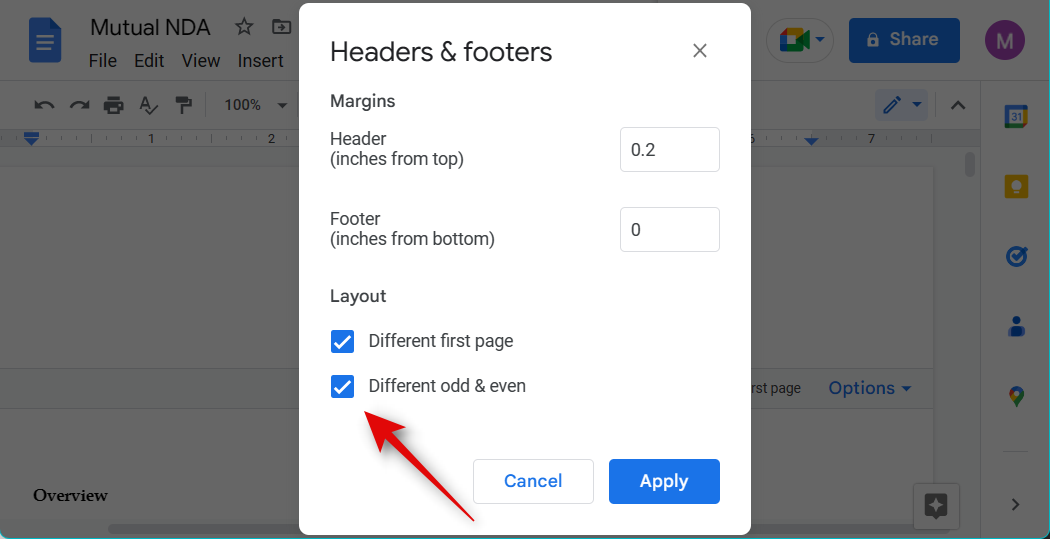
Check the box for Different first page if you wish to use a different header on the first page.

If you need a different header and footer on every alternate page, check the box for Different odd & even.
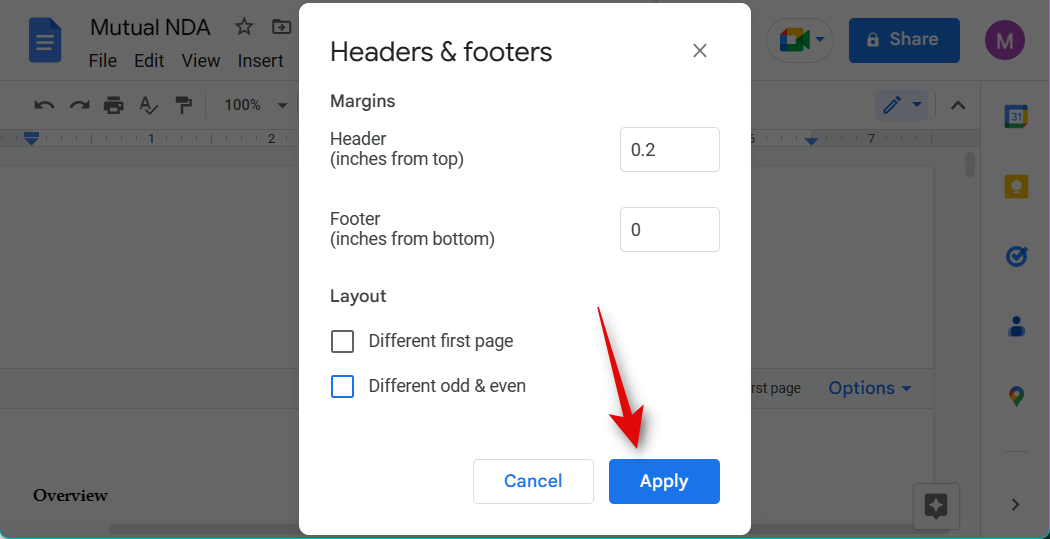
Click Apply.
And that’s it! You will now have customized your running header.
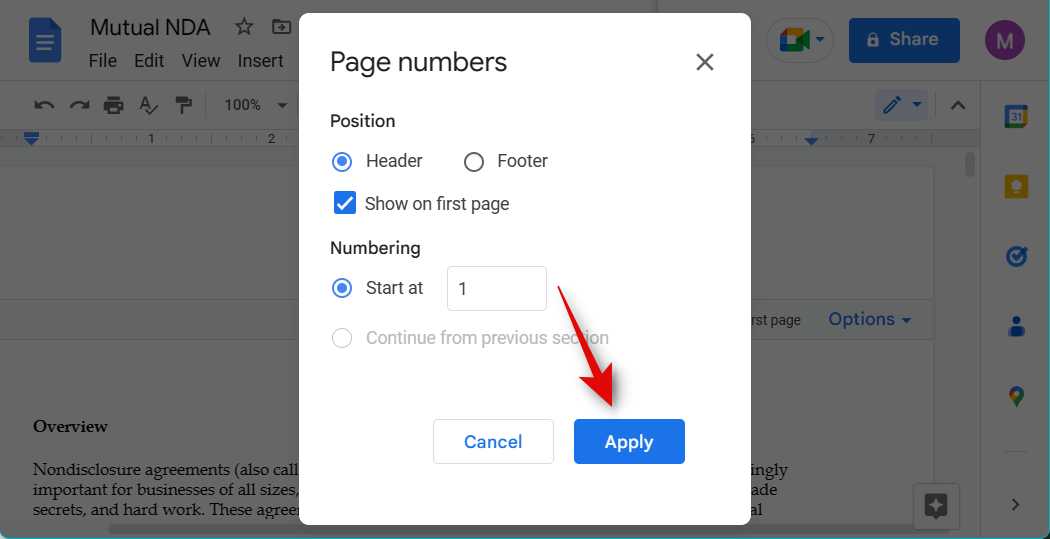
Step 3: Add page numbers
We can also add page numbers, as this is a requirement for most official documents that require a running head. Use the steps below to help you along with the process.
Open the concerned document and double-click the header on the first page of your document.
You will now be able to edit the header. Place your cursor where you wish to add page numbers in the header.
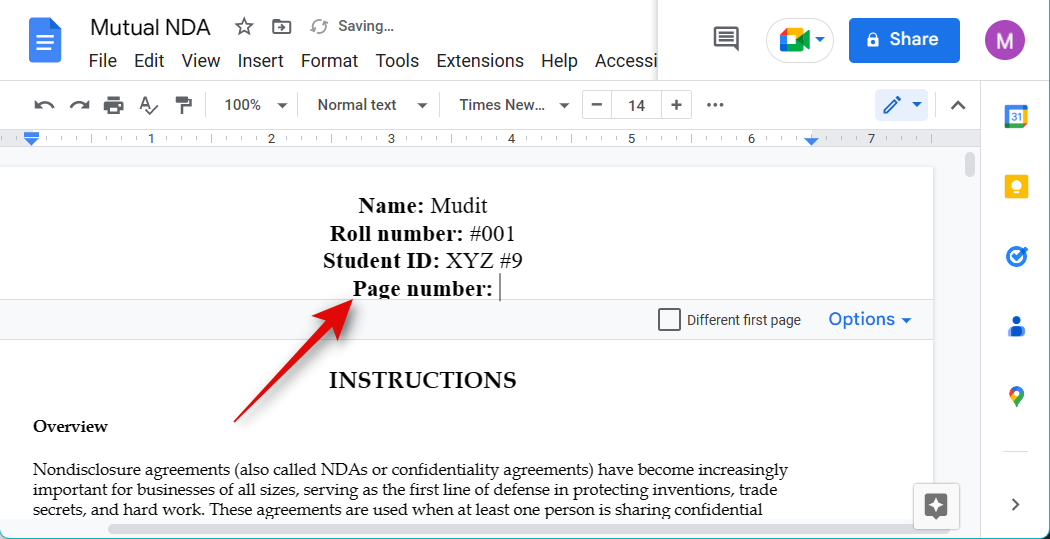
Click Options.

Select Page numbers.

Ensure Header is selected at the top.
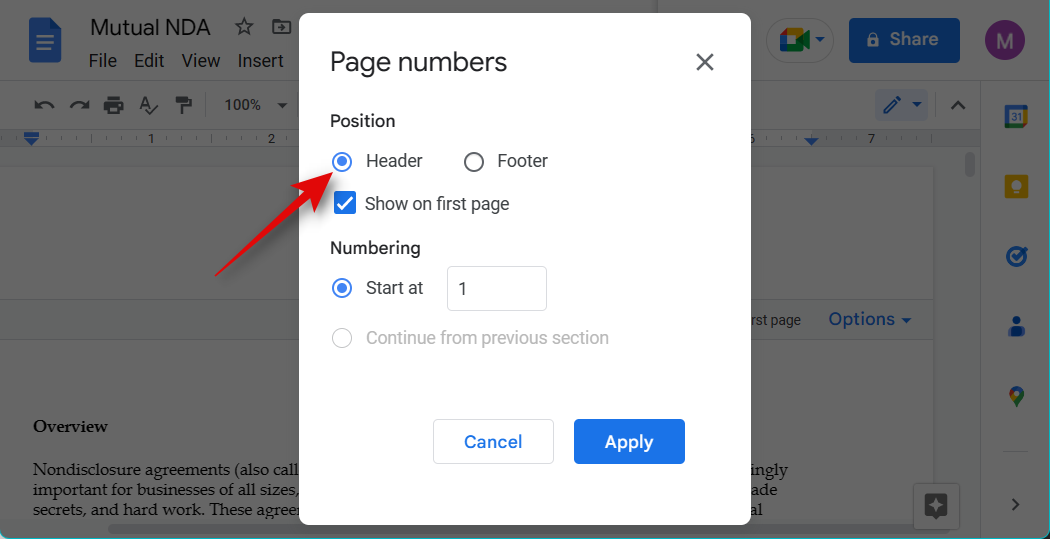
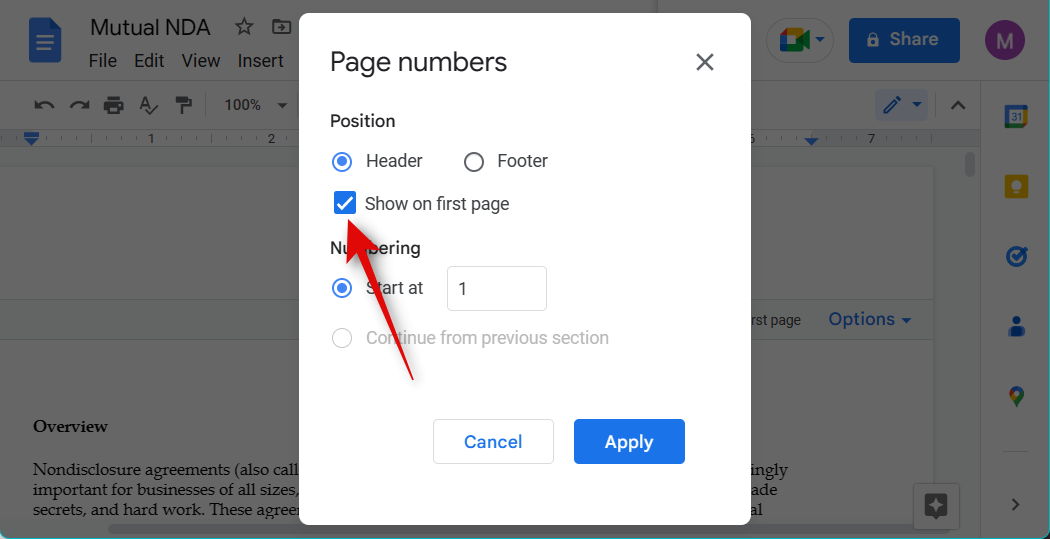
Check the box for Show on first page if you wish for a page number to show up on the first page.
Now choose 1 beside Start at.

Click Apply.
Page numbers will now be added to your document’s header.
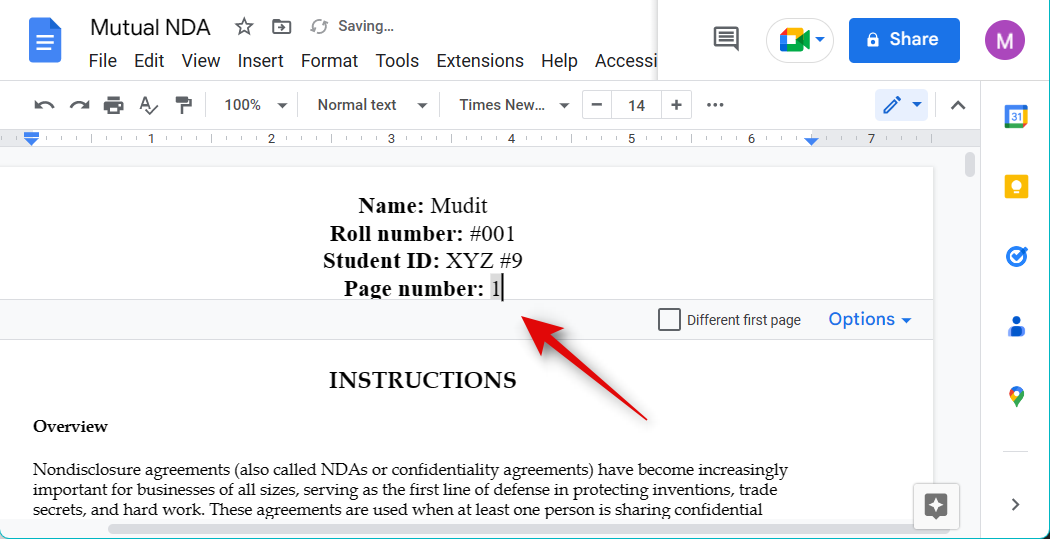
And that’s it! You will now have added page numbers to your document.
We hope this post helped you easily add a running head to your document. If you have any questions or face any issues, feel free to reach out using the comments below.