If you’ve been using Microsoft Word for years, you probably think you have a pretty good grasp on its capabilities. But you might be missing out on the full extent of its capabilities, or worse, making due with unnecessary minor irritations that could be improved with the right know-how. Don’t believe me? Read on to see if any of the following tricks and hidden functions could improve your own workflow.
Finding elements, special characters and formats
Problem: Word’s search function only finds text. How can elements such as tables, graphics, footnotes, and even formatting be found?
Solution: All this is hidden in Word’s search dialogue. First call up the search input field with Ctrl+F. Then click on the magnifying glass. Then click on the magnifying glass symbol. Here you will already find the functions with which you can rummage in graphics, tables, comments, formulae, or footnotes. You can go even deeper by clicking on Advanced find… and then More >>.
Under Format you can search for fonts or format templates, and under Special you can search for paragraph marks and spaces. Many elements can also be entered as placeholders in the search field. For example, “^p” searches for paragraphs. The latest Word 2021 and Microsoft 365 also have a search field above the ribbon.
Emojis like in Whatsapp
Foundry
Problem: In apps like Whatsapp, for example, you have a wide range of emojis, icons, and symbols at your disposal. Does Word offer something similar?
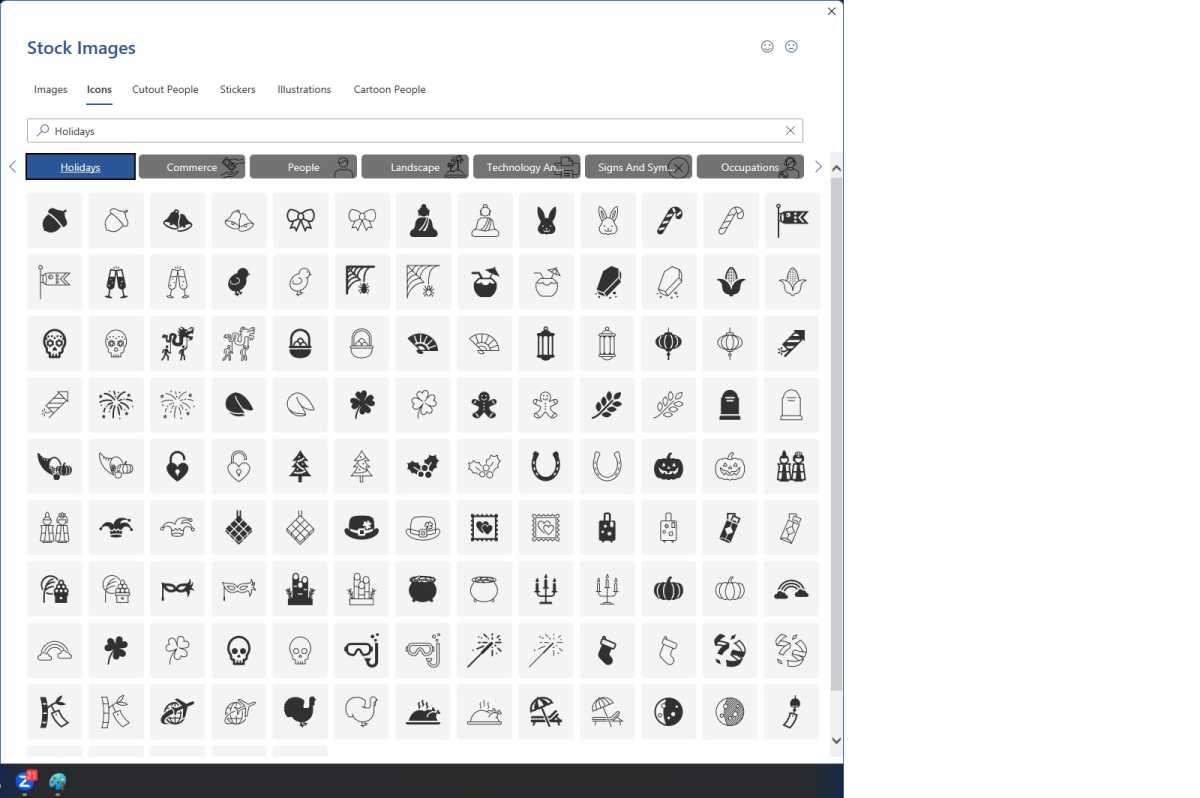
Solution: Such little pictures are located in the ribbon under Insert > Icons.
Here you can see literally hundreds of little pictures, which can also be searched via the search field. The icon categories ranges from Analysis to Holidays, with the smileys in the Faces section.
Create your own watermark
Foundry
Problem: Watermarks are a common method of making it clear who owns the copyrights to a document or of preventing the unwanted use of copies. Can Word do this too?
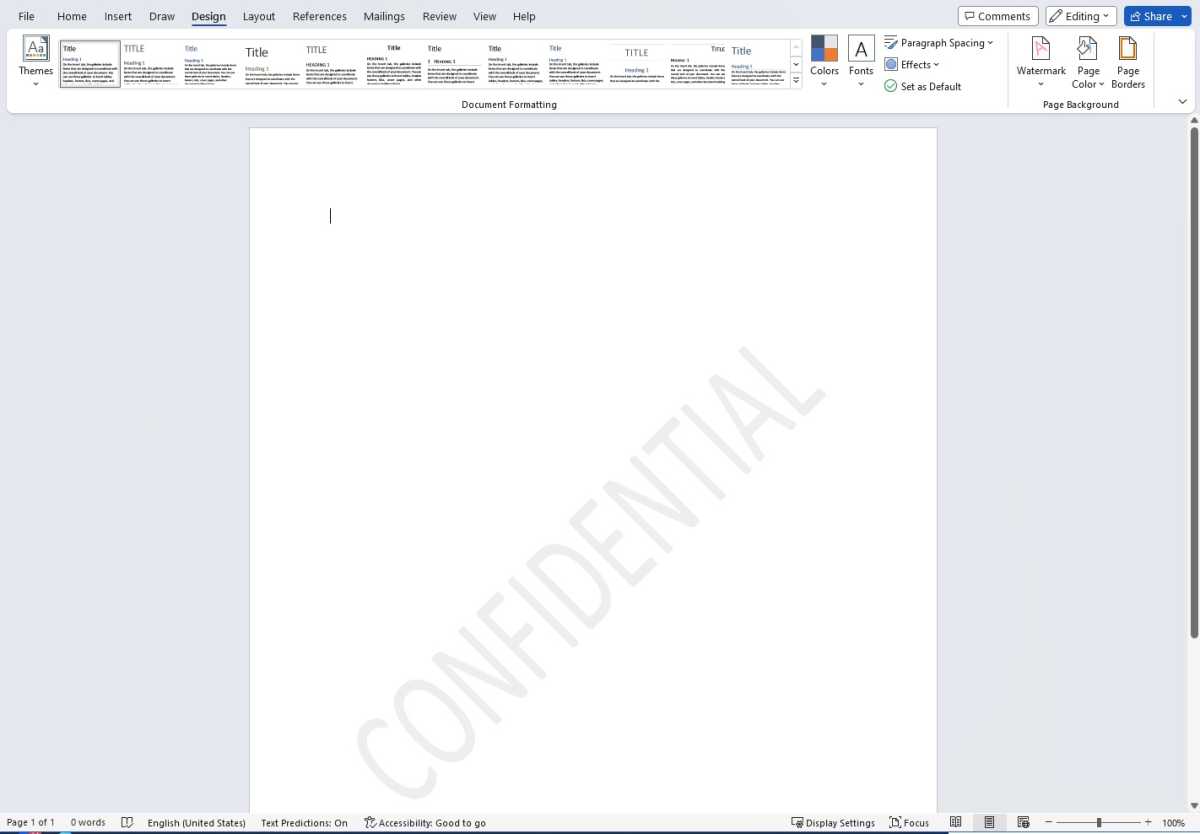
Solution: Microsoft has hidden the function for inserting a watermark in its word processor a little: You will find it in the menu bar under the Design tab—select Watermark on the far right. Here the watermark menu offers some ready-made watermarks such as “Confidential” or “Do not copy.”
To use your own design, click on Custom watermark… and add the logo or text you want.
Templates and designs: Integrated layout aids
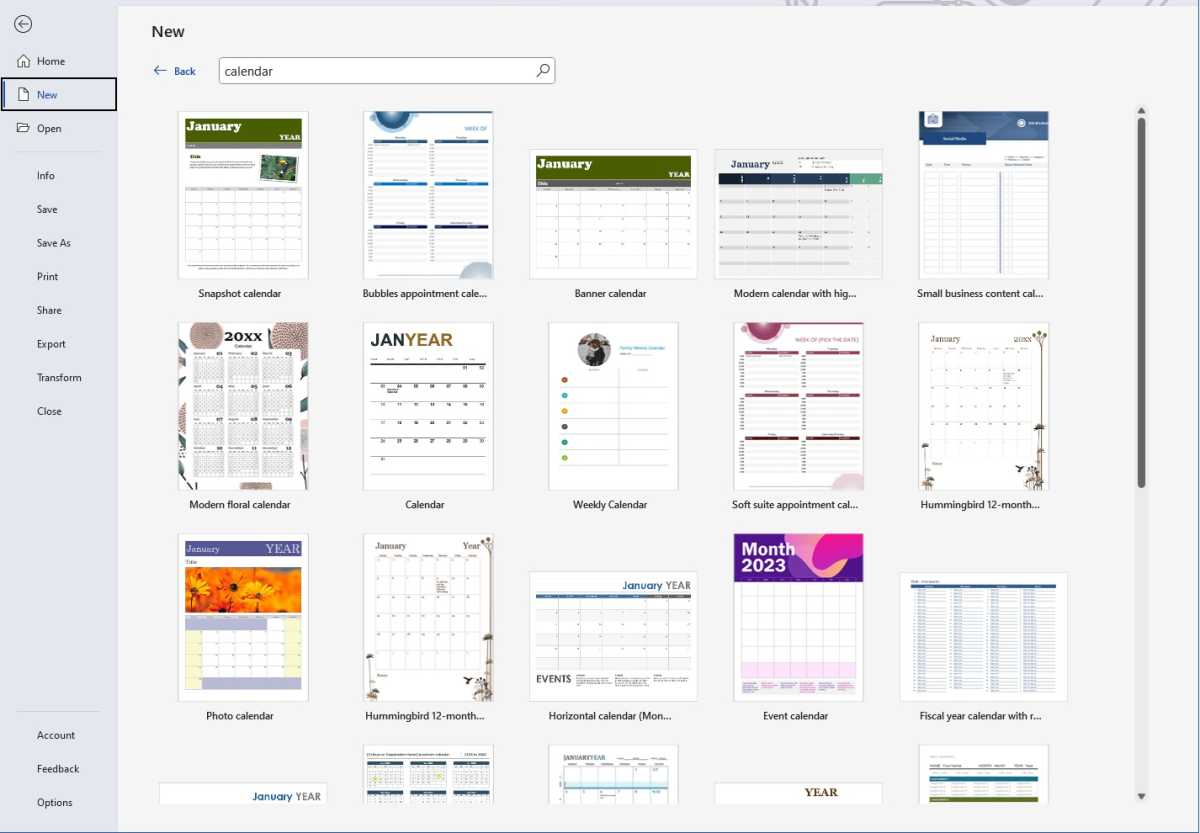
In addition to the locally installed Word templates, many more are available online. The illustration shows this using the example of various calendar layouts.
Foundry
Problem: With ordinary text, you just start writing, but when it comes to sophisticated layouts such as calendars, invitations, or CVs, designing with Word quickly becomes tedious. Can’t you get help so that you don’t have to start from scratch every time?
Solution: Word helps on two levels. The first is when you create a new document. In addition to Blank Document, there are numerous templates available, such as letterheads, certificates, and brochures. If the selection is not sufficient, simply enter a keyword for the required template in the search field. The search term “calendar,” for example, brings up dozens of online templates that can be used as the basis for your own works.
The second level, on the other hand, is more concerned with the appearance of documents. The corresponding function can be found under Design in the Themes menu. Here Microsoft combines coordinated fonts, colors, and font sizes. If you move the mouse pointer over a design, you can see how your document would look with it before you select it with a click.
Microsoft 365: Insert text content without formatting
Problem: Instead of inserting texts in the font and with the formatting of the target document, Word insists on copying texts in the source format, but this often ruins the layout and results in costly corrections. Is there a way to insert texts without taking over their formatting?
Solution: Windows has actually known a solution to this problem for a long time: The key combination Ctrl-Shift-V copies pure text information in many programs. But Microsoft’s Office package, of all things, cannot do this. Instead, users have to remove the formatting from texts inserted with Ctrl-V in a second step.
Simply paste your text into the target document using Ctrl+V, then from the little paste menu that appears, choose the third option for text-only.
Protect documents with a password
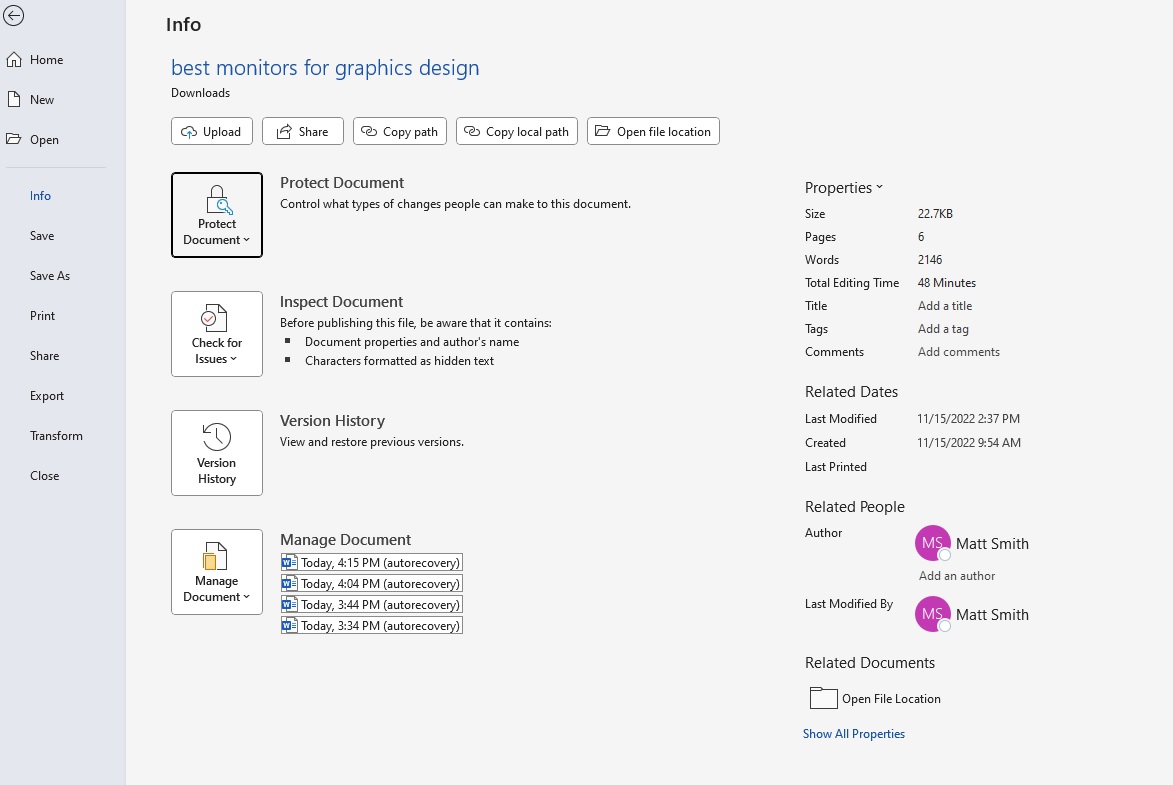
You can protect Word documents from unauthorized access by entering a password. If they are protected in this way, they cannot be opened, changed, or printed.
Foundry
Problem: If you send private or confidential documents by email, for example, you should protect them from prying eyes with a password. How can this be done?
Solution: In the case of secret business documents or personal documents with private information, it makes sense to protect the contents of Word documents with a password. This makes the file worthless to foreign eyes, because without entering the correct password, the file can neither be read nor changed or printed.
To password-protect a document, go to File > Info > Protect document > Encrypt with password. Here you enter the password twice and then save the document to activate the protection. The encryption also applies to alternative programs such as Libre Office.
If you want to remove the password protection, click on Encrypt with password and remove all characters from the password field. After clicking on “OK”, the password prompt is removed.
Create an automatic directory
Problem: In long documents with numerous graphic elements, it is worthwhile to insert an automatic list of illustrations. How does this work?
Solution: The automatic list of illustrations requires two steps. In the first step, you provide all images with a caption. To do this, click on the first illustration and then go to the menu bar item References at the top—in some Word versions it is also called Links. Click on Insert caption and in the dialog window under Options set whether the selected object is an figure, equation, or table.
The Position tab determines whether the caption should appear above or below the image. Enter the caption text in the Caption field at the top and confirm by clicking on OK. Proceed in the same way with the other images. Word automatically recognizes the order of the pictures and assigns them the correct numbers.
In the second step, insert the list of illustrations. To do this, click on the place in the document where you want it to appear later and then click on Insert Table of Figures in the References menu in the Captions section. Here you can again distinguish between figure, equation, and table in the General section and in this way also create an equation or table directory. Under Formats you can choose from several designs for the list of figures. A click on OK completes the process.
If you want to update the list later, for example because new illustrations have been added or the page numbers have changed in the meantime, simply click on it and in the menu on the function Update list of illustrations.
Transcription of audio files into text
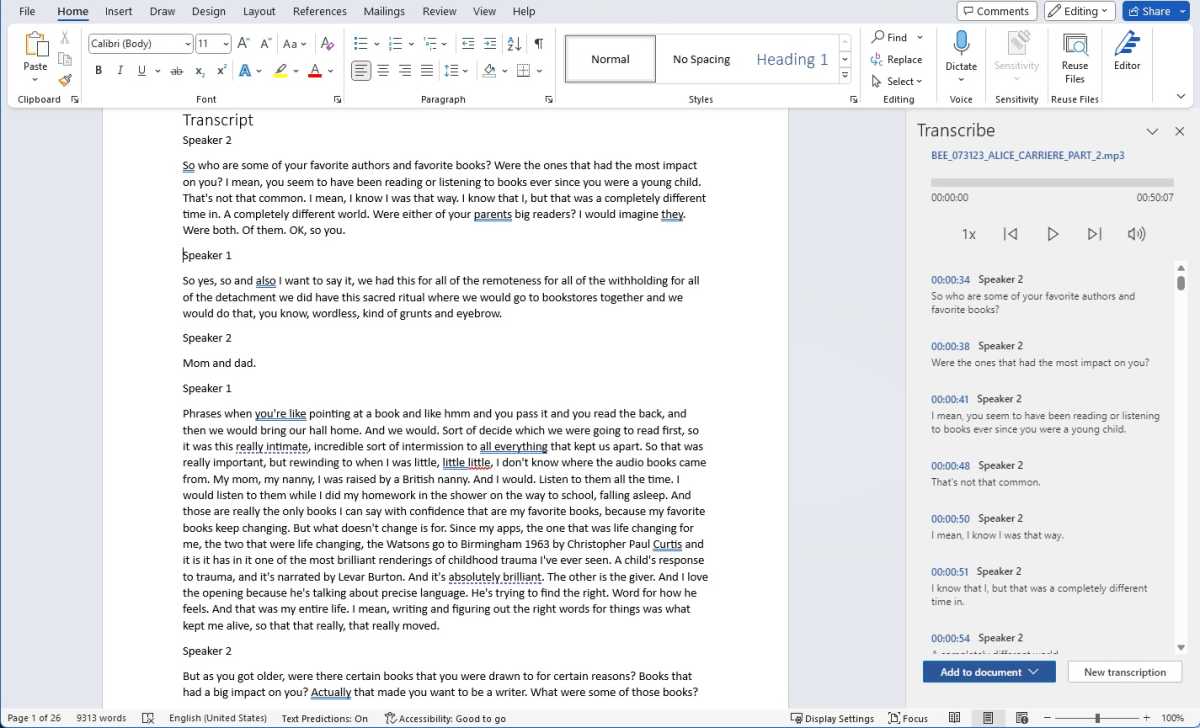
The automatic transcription of an audio file into text works quite well in practice, but has limitations with certain dialects and languages.
Foundry
Problem: In the age of videoconferencing, it is sometimes quite useful to transfer the content into a document. But listening and typing is tedious. Can such transcription be done automatically with Word?
Solution: The paid version of Microsoft 365 allows you to do just that, it transcribes texts from an audio or video file directly into a Word document. Microsoft 365 allows five hours of transcription per user account per month, whereas the locally installed Word version only offers the dictation function, not the transcription function.
This is how it works: Go to www.office.com in your browser and log in with your Microsoft 365 account. Create an empty document, open the microphone menu in the Home menu and switch to Transcribe.
A new column opens on the right-hand side. At the top, set the language in which the video or audio file is available. At the bottom of the column is the information on how many of the 300 free minutes you have already used in the current month. Then click on Upload audio. Word supports the audio formats WAV, MP4, M4A, and MP3 and file sizes up to 300MB.
The upload and transcription take a while, depending on the internet bandwidth. Word then displays the texts in the right-hand column with speaker number and time stamps. If you move the mouse pointer over one of the entries, a pencil symbol appears for editing. Rough mistakes can be ironed out right here.
If you want to hear a text passage again in the original, simply click on the corresponding timestamp. Word will now play back the recording from this point. To add all paragraphs to the document, click on Add to document. In addition to the pure text, there is also the option to take over the speakers, the time stamps or both.
Faster with text modules
Problem: Frequently used text modules, such as addresses, disclaimers, or greetings, have to be typed in again and again. Can’t Word do the work?
Solution: Frequently used text modules can be stored as so-called autotext. For example, instead of typing “Yours sincerely” over and over again, select the words and press the key combination Alt+F3. The window Create a New Building Block appears. In the Name field, enter an easy-to-remember abbreviation for the text module, such as “ys” in our example.
To insert the greeting formula later, just enter “ys” and press the F3 key. Word usually saves the text modules in the file normal.dotm.
This article has been translated from German to English and originally appeared on pcwelt.de.


