In a recent article of mine, I discussed switching from a DSLR to a smartphone for casual photography. Recently, one of my friends reached out to me and asked what camera he should get for a trip he is going to. I told him: to use his phone and gave him some tips. Here are the top 7 tips that every smartphone photographer should know.
Smartphone photography is so popular that I consider everyone with a smartphone a photographer to some extent. Even if they are only taking pictures of their kids, their neighborhood, or anything else, they are already in my eyes a photographer. One interesting coachee I had a while back wanted to document the area he was from, just for himself. He never had the goal of making money with photography. Back when I was coaching them I told them to get a Canon 5D without any hesitation. To some degree, it was the best advice I could give then. Now I would say, get a phone and give tips and tricks on how to become a pro iPhone photographer who takes great pictures which don’t require the technical skill of a pro photographer.
1. Clean Your Lens
This is obvious, but I see so many people forget to do it. When you are using your phone, you are constantly touching your camera lens and making it smudgy. If you ever wondered why your mobile pictures look so hazy, this might be the reason. This can be easily avoided just by cleaning your lens with your shirt, or any piece of soft cloth you have next to you.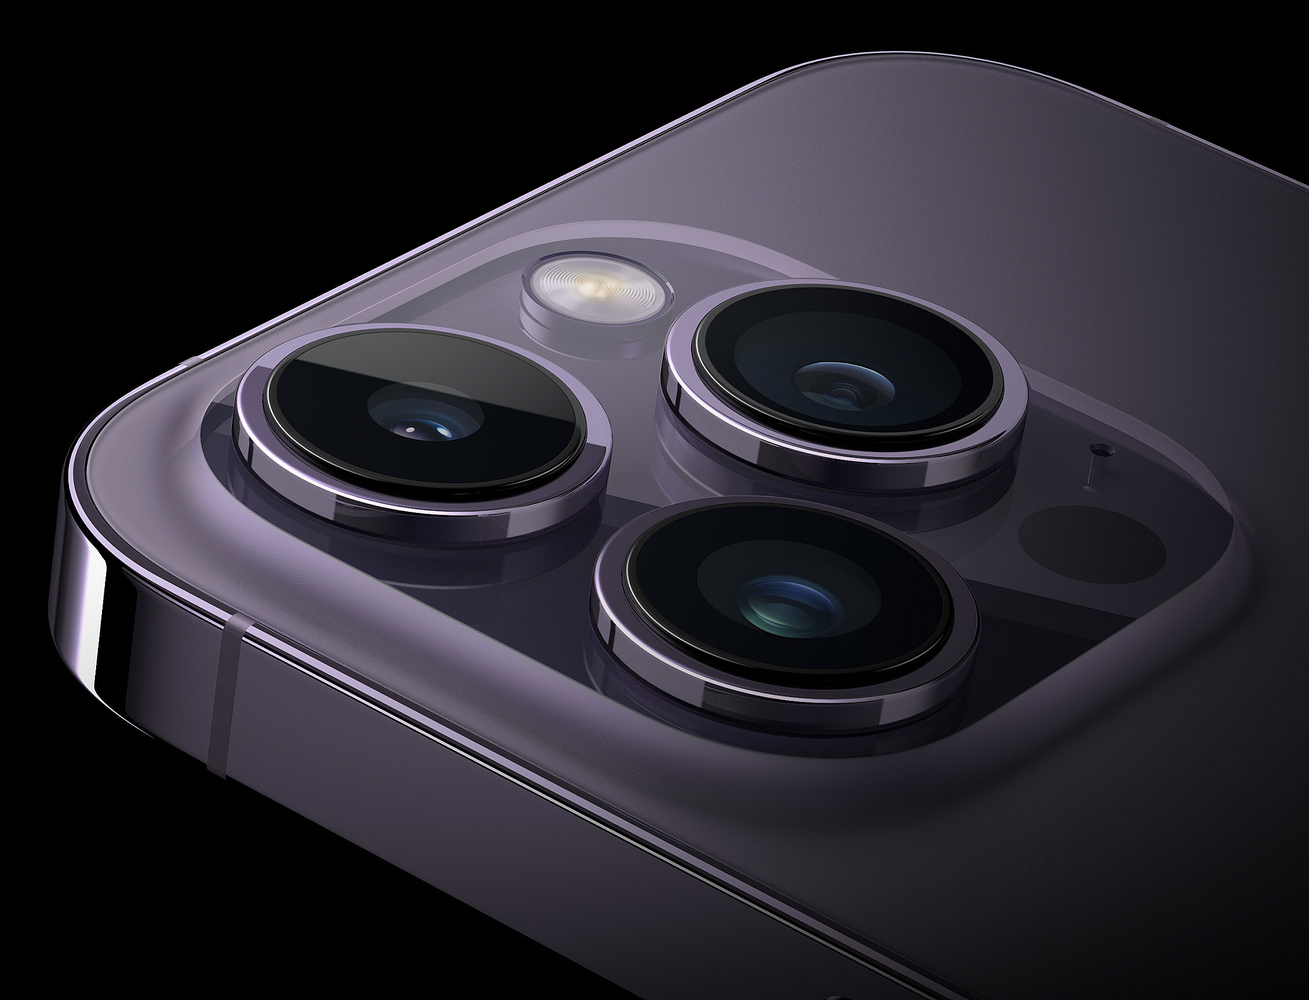
2. See Patterns of Light
Photography, in its most basic form, is a way to capture a light painting. While working in the studio I seek to create the perfect light in front of me. While working with a smartphone, I am actively seeking the perfect light. Because you have no control over the scene, you need to train yourself to see the emerging patterns. Besides being an excellent foundation for awesome smartphone pictures, this also will train your photographic eye so that the next time you’re using your proper camera, you can spot more things and take advantage of the equipment you have. These patterns can be everywhere, as everything that you see is a light modifier of sorts. Office windows might reflect light on the pavement, unusual architectural features can cast unique shadows on surfaces, and so on. Seek out to see natural light.
3. Control Focus and Exposure
I admit this is easier done on a camera than on a phone, but learning to expose and focus properly can make your images sharper and more detailed as a result. Most smartphones have a feature that allows the user to tap on the scene and have the camera focus on the subject. Before taking a picture I make sure to tap on the subject instead of relying on the algorithms behind the phone to find what it is I want to take a picture of. Another way to make your scene better is to adjust exposure, usually, you can do that by using a slider next to the focus point. This will go a long way in helping you work in low-light conditions.
4. Enable Gridlines
While this might seem like a boring way to make every photo follow the rule of thirds, I found the gridlines to be reminiscent of my big cameras. It helps fill the frame equally, find symmetry, and ultimately create a photo that is pleasing to look at. Unfortunately, most smartphones only support one or two versions of gridlines. It would be awesome to see more options for gridlines in the future. To enable gridlines, simply go to camera settings and select the relevant grid option.
5. Try Unique Angles
Because of how compact phones are, you can place them anywhere. It is far harder to be creative with height and angle when using a full-sized camera. I often play with tilts, shirts, and other movements on the phone to find the best angle and distort the scene in front of me. Extreme angles can be a very good way to craft dynamic and interesting images which will help you stand out from the crowd.
6. Edit Your Pictures
While you can capture an incredible scene with just the camera, editing is a critical part of the process. You should take full advantage of post-processing apps such as VSCO, Lightroom, and even Snapseed. If you are feeling so, use FaceApp as well, just be aware that it is easy to spot when overdone. My favorite app to edit pictures on is Lightroom as I am familiar with the interface. That said, once Capture One comes to iPhones, I will switch, like a real pro photographer(this is a joke, Lightroom is more than enough for mobile). I sometimes even use filters installed in Lightroom to get a starting point in my imagery, only after adjusting it to perfection.
7. Experiment With Camera Modes
Most modern phones have a lot of different modes in their native camera app. Experiment with portrait mode, which can help you create a blurred background. Another one I would try out is night mode as well as long exposure. For example, with the use of a tripod, or a Platypod, you can probably capture some incredible light trails just on your phone. If you download a specialized camera app, it might enable you to control things such as ISO, aperture, and shutter speed. Remember that most mobile lenses are fixed apertures, so you are in reality controlling something else. One of my favorites is Profoto Camera, it enables me to use my Profoto Flash with my iPhone. 
Closing Thoughts
A smartphone is no worse than the camera you have. If you are using it correctly, you can take full advantage of the scene in front of you, and capture it. I hope these tips and tricks will help you become a better photographer just with the gear you have in your pocket every day. These are of course transferrable skills, and you can very well use some of them to create pictures with a dedicated camera. Just keep in mind that your phone is probably good enough for way more subjects than you might think at first.


